Return to the Hozelock Vorton UVC product page
Hozelock Vorton UVC Information
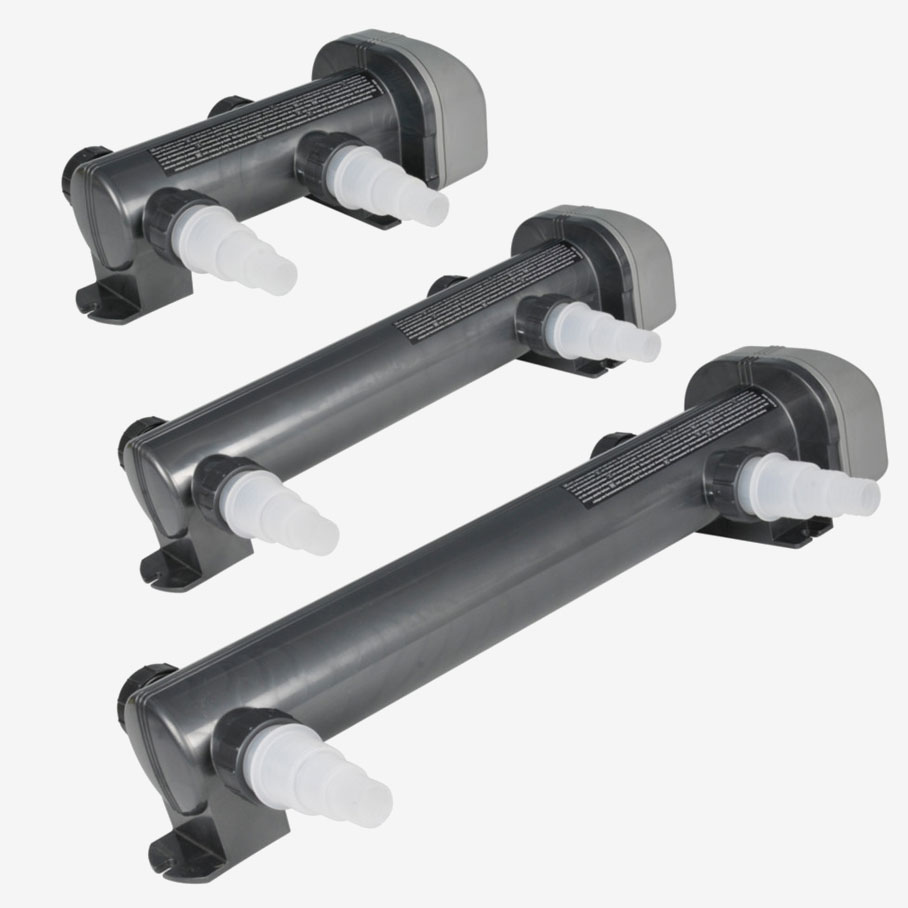
| Model | Max FlowLPH | Hose Size mm | Wattage |
|---|---|---|---|
| Vorton 9* | 1500 | 20-40 | 9 |
| Vorton 11 | 2000 | 20-40 | 11 |
| Vorton 18 | 3000 | 20-40 | 18 |
| Vorton 22 | 3750 | 20-40 | 22 |
| Vorton 36 | 6000 | 20-40 | 36 |
| Vorton 55 | 9250 | 20-40 | 55 |
*The Vorton 9 has now been discontinued and is no longer available. We have left it in the table for comparison purposes only.
The Hozelock Vorton UVC has over the years become a firm favourite with water gardeners. Due to an outstanding reliability record, and with some key features not necessarily offered by alternatives, and teamed together with the popular British brand name of Hozelock, its a definite that the Hozelock Vorton UVC will be around for a long while to come yet!

Vorton UVC Key Features
Operating Temperature and Guarantee
The Hozelock Vorton UVC comes with a 2 year guarantee for peace of mind. With sturdy casings and careful product design Hozelock have ensured that the Vorton is kept always to an optimum temperature. You can be safe then in the kowledge that on the Vorton UVC there is going to be no issues of over-heating which can sometimes occur with other uvc's. This also means that the bulbs are kept at the right temperature to promote maximum flocculation (clumping together) of the algae that passes through the Hozelock Vorton UVC.
More Efficient Bulb
The single ended bulbs that Hozelock use in the Vorton UVC produce up to 30% more light than the old strip lights. They also run at full efficiency for 60% of the time so you're not loosing out on performance like with some other models, and you will never have to change your bulb more than once a season!
Glow In The Dark
Like with most of the UVC's on the market the Hozelock Vorton has translucent hosetails on the inlet and outlet, these give indication at night whether or not the UV bulb is working. If you are experiencing green water problems, usually 9 times out of 10 the bulb has come to the end of its life, or the quartz sleeve is dirty. The translucent hosetails will give you a definite answer as to whether the bulb is working. Even if the bulb is still working remember you always have to change the bulb every spring, as UV bulbs only work to their optimum for 8000-9000 hours, they will light up after this but will be producing too few UV rays to make any real difference to the algae.
How to Change your Bulb and Quartz Sleeve on a Vorton UVC
Below is a video guide detailing exactly how to remove and replace the UV bulb and quartz sleeve in your Vorton UVC. For easy reference the main steps are summarized below the video in a numbered list. Please pay extra attention to point number 2. For safety reasons the design no longer features a quick release button. Instead you will find 4 small screws at the grey end of the unit which need to be removed in order to release the assembly cover to access the sleeve and bulb within. Apart from that, all instructions in the video are correct.
Steps for changing the UV bulb and Quartz sleeve –
- Isolate Unit from the mains
- Remove the 4 screws from the grey end of the bulb and quartz sleeve assembly to release the electrical assembly cover allowing access to the bulb and sleeve
- Unscrew securing collar and remove the quartz tube
- It’s best not to touch the quartz tube as this could effect the efficiency of the unit. Use a piece of kitchen roll, clean dry cloth or similar to handle the tube
- Next remove the bulb just by pulling it out from it’s housing. Again it’s a good idea to use a piece of kitchen roll or similar when handling all bulbs
- Simply line up the contacts of the new bulb and push it into the bulb housing. Refit the protective cap onto the end of the bulb. This prevents movement and breakage of the bulb when the unit is in use.
- Refit the quartz tube by sliding it in to place, ensuring that the O-ring seal is positioned correctly between the quartz tube and the bulb. Next just re-tighten the clamping nut.
- Now that you have the bulb and quartz tube reassembled it’s best to give the quartz tube a quick clean before placing it back into the main unit. Just wipe off any excess sediment or algae with a kitchen wipe or clean cloth. For stubborn areas you can use a 50/50 solution of vinegar and water to remove marks and residue to give you a clean tube.
- Next, refit the clamping screw and insert the entire unit into the assembly. At this stage be sure to check that the larger sealing O-ring is fully against the rear of the unit in the correct position, and give the quartz tube a final check to be sure it’s free of greasy finger marks or other smudges and debris.
- Next, you can carefully insert the bulb and tube assembly into the housing. Make sure it’s positioned in a slightly off-centre configuration and rotate it into place until you hear and feel the assembly click into place.

